Getting Started
Setting the 2D mode
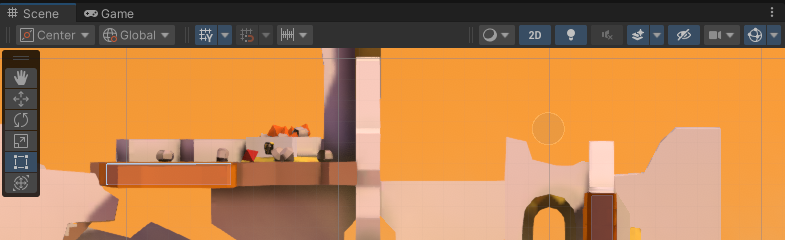
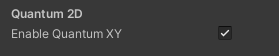
The game sample works in Unity 2D mode and the related QUANTUM_XY mode. Make sure that both are set.
- Select the Unity editor scene windows and toggle on the 2D mode.
- Select the
QuantumEditorSettingsassetTools > Quantum > Find Config > Quantum Editor Settingsand toggle on the Quantum XY mode.
Playing the game in local, single player mode
- Open and start the
QuantumGameScenescene (Assets/Scenes/QuantumGameScene.unity) - Click on a character button to join the game
Gameplay controls
- Use
ASto movement - Use the mouse to aim and
Left Mouse Buttonto shoot Spaceto jumpQEto change weaponFto use the grenade
Gameplay features
- 2D platform shooter
- Double jump
- Area damage
- Grenades
- Weapon reload time
- Change weapon using weapon inventory
Playing the game online
- Start by Creating a Photon Quantum AppId and pasting it into the
PhotonServerSettingsasset - Open and start the
QuantumSampleMenuscene (Assets/Scenes/QuantumSampleMenu.unity)
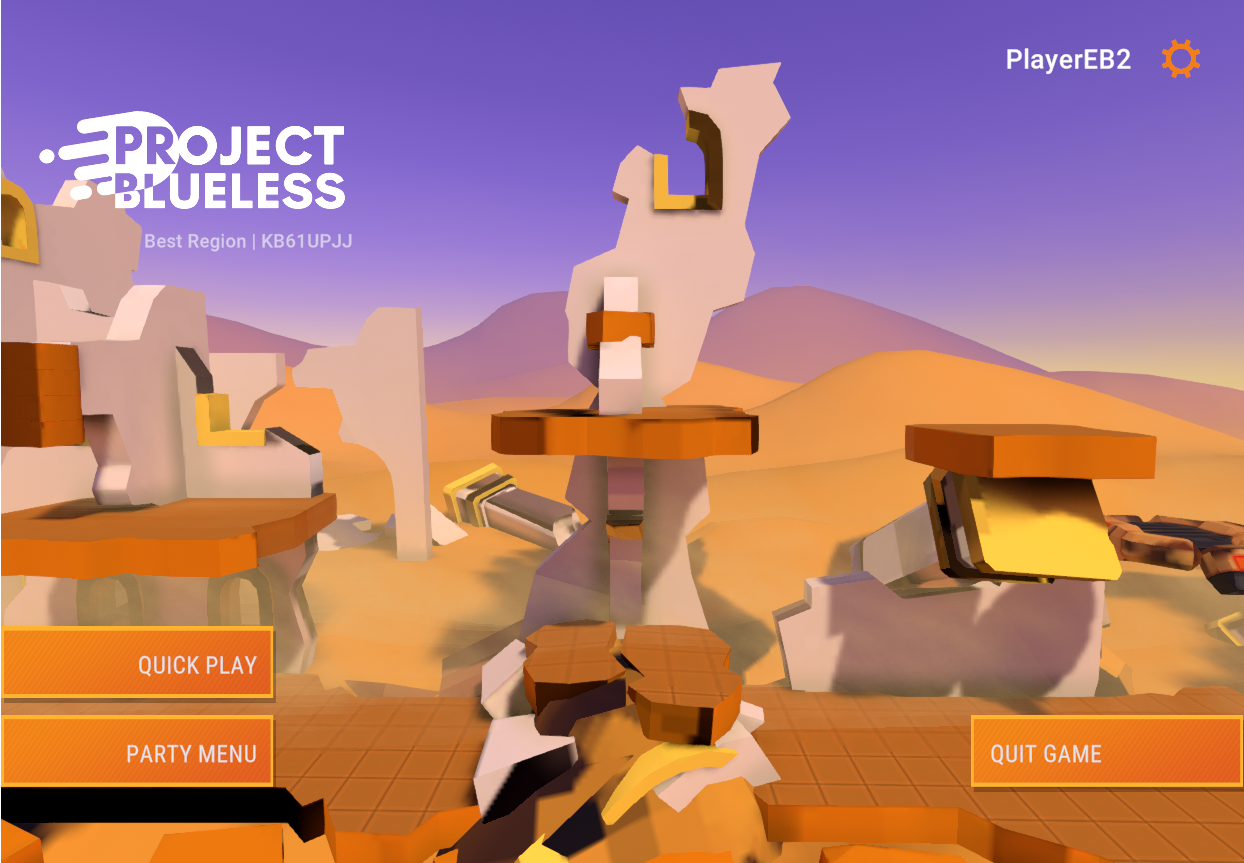
- Press
Quick Playto connect to the Photon Quantum Cloud and create and join an online Quantum game session
Playing online with multiple clients
To play with multiple clients, create a build on one machine for a target platform and start multiple instances on the same PC or on different devices.
By default the best (pinged) region is connected to. Clients that are connecting to different regions will not be matched together, instead go to the settings game menu and toggle a region explicitly.
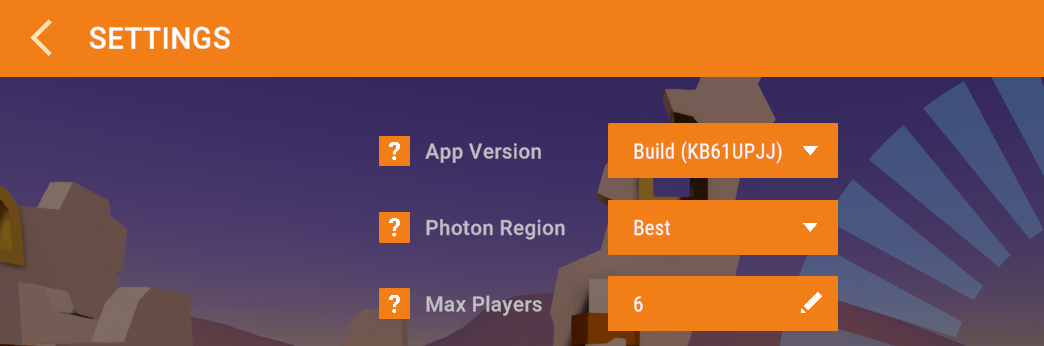
Additionally to the region Photon matchmaking only matches clients of the same AppId and AppVersion together. The Quantum menu is set up to use an AppVersion that is unique to the machine that creates the build, so reduce the chance of matching players of incompatible builds.
Back to top